
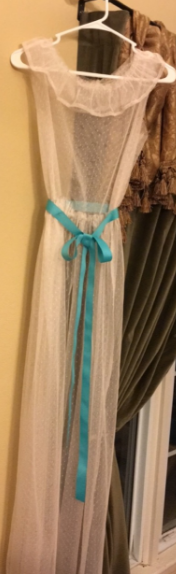
Sew Scary: With over a week until Halloween, one can craft a perfect costume

Halloween is coming up, and with a crave to be different, I have decided to make my own Halloween costume this year. There are some great advantages to making your own costume. For one, you can be whoever you want and make your costume just the way you want it to be. There is one con, however; you need time to do it because depending on how fast you can cut out patterns and sew, it’s going to take at least two to three days at the least.

First you need to get
all your materials:
-A costume pattern (I used the pattern in the picture to the right: McCall’s M7047 pattern.)
-Material
-Pins
-Scissors that can cut the pattern and the material
-A sewing machine
-Thread
-And a bit of time!
Optional materials:
-A grandma to help out
 1) Measure your chest, shoulders, waist, hips, etc. (Basically just the places that the costume is going to be on.)
2) Lay out the pattern.
Tip: Please remove any cats, dogs, pets, etc. from the pattern before you start cutting it out!
3) Cut out the pattern (If you are using the same pattern that I am using, cut out number 1, 2, and 6.) If you have already removed the cats from the pattern, please try again because they WILL come back.)
4) Lay out the pattern and proceed to … oh, my gosh, GET THAT CAT OFF OF THERE!
5) Fold the material in two and carefully pin the pieces (number 1 and 2) onto the fold of the material. (Cut out piece 6 anywhere on the material, but remember to try to save as much material as you can just in case you mess up and need to cut out a piece again.)
6) Carefully cut along the lines of the pattern to cut out the material pieces. Don’t forget to cut out the notches for the sleeves. (The notches are the little triangles that you will see on the pattern.)
7) After all of the pieces are cut out, set them aside.
8) Lay out your material and mark the width of the ruffles. Then cut out roughly seven strips of material, all the same length.
9) Lay out your material again and hold it up to your waist. Mark where you want it to end. Then cut a straight line (or as straight of a line as you can) and cut out the material for the skirt.
10) Next thing to do … sewing! Now, to make this costume look the best it can be, you’re going to want to use a French seam. If you don’t want to use a French seam, then you’re going to need a serger that will do all the work for you. Work refers to enclosing the seam, trimming the seam and sewing it all up in one step.
11) One of the first things to do when sewing your costume is to remember to sew it inside out. That way your seams won’t show on the outside.
12) When the top pieces and the bottom are sewn together correctly, proceed to sew the bottom and the top pieces to each other. (Still inside out!)
13) If you need to, you can tear the stitches out and resew them.
14) After using either a French seam or a serger, carefully turn your costume right side out.
15) Gather all the materials needed to complete your costume.
16) Put them together and you’re done.
Remember to have fun and stay safe this Halloween!
You may also like...


-
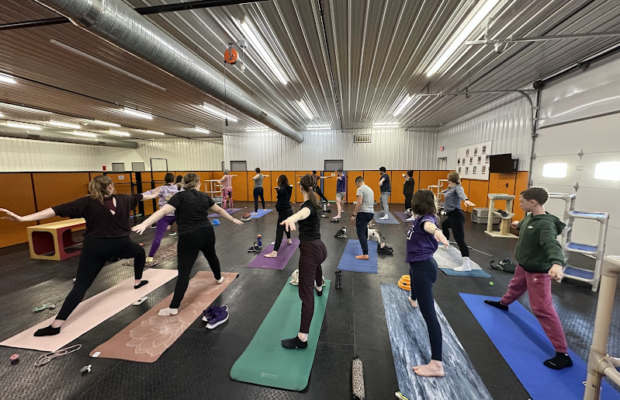
Cedar Bend hosts successful cat yoga event
The Humane Society hosted an event last weekend on Saturday, May 2 for cat yoga at the Outreach and Education Center. There were many participants who showed up for...


You must be logged in to post a comment Login