
Making Metal: Battle Vests define devotions of heavy metal diehards
When someone hears the words “Battle Vest,” the first thought that comes to mind is probably not a grizzly, long-haired man sewing; however, this is something that has become a staple of heavy metal culture.
A battle vest is denim (or leather) vest that is covered in patches of your favorite bands. They originated from the biker culture of the early 1980s. While some metalheads may say that you can only use patches from metal bands, other musicians can be used if you want. Just be prepared for some glares from some metalheads.
Here’s how to make your very own battle vest.
 Step 1: Grab Your Vest
The first thing you need to get is a denim jacket. If you already have a denim vest or old jacket hanging around, you can skip this step; however, if you don’t have one on hand you can get a cheap denim jacket from Goodwill or Mohair Pear.
Step 2: Forge Your Vest
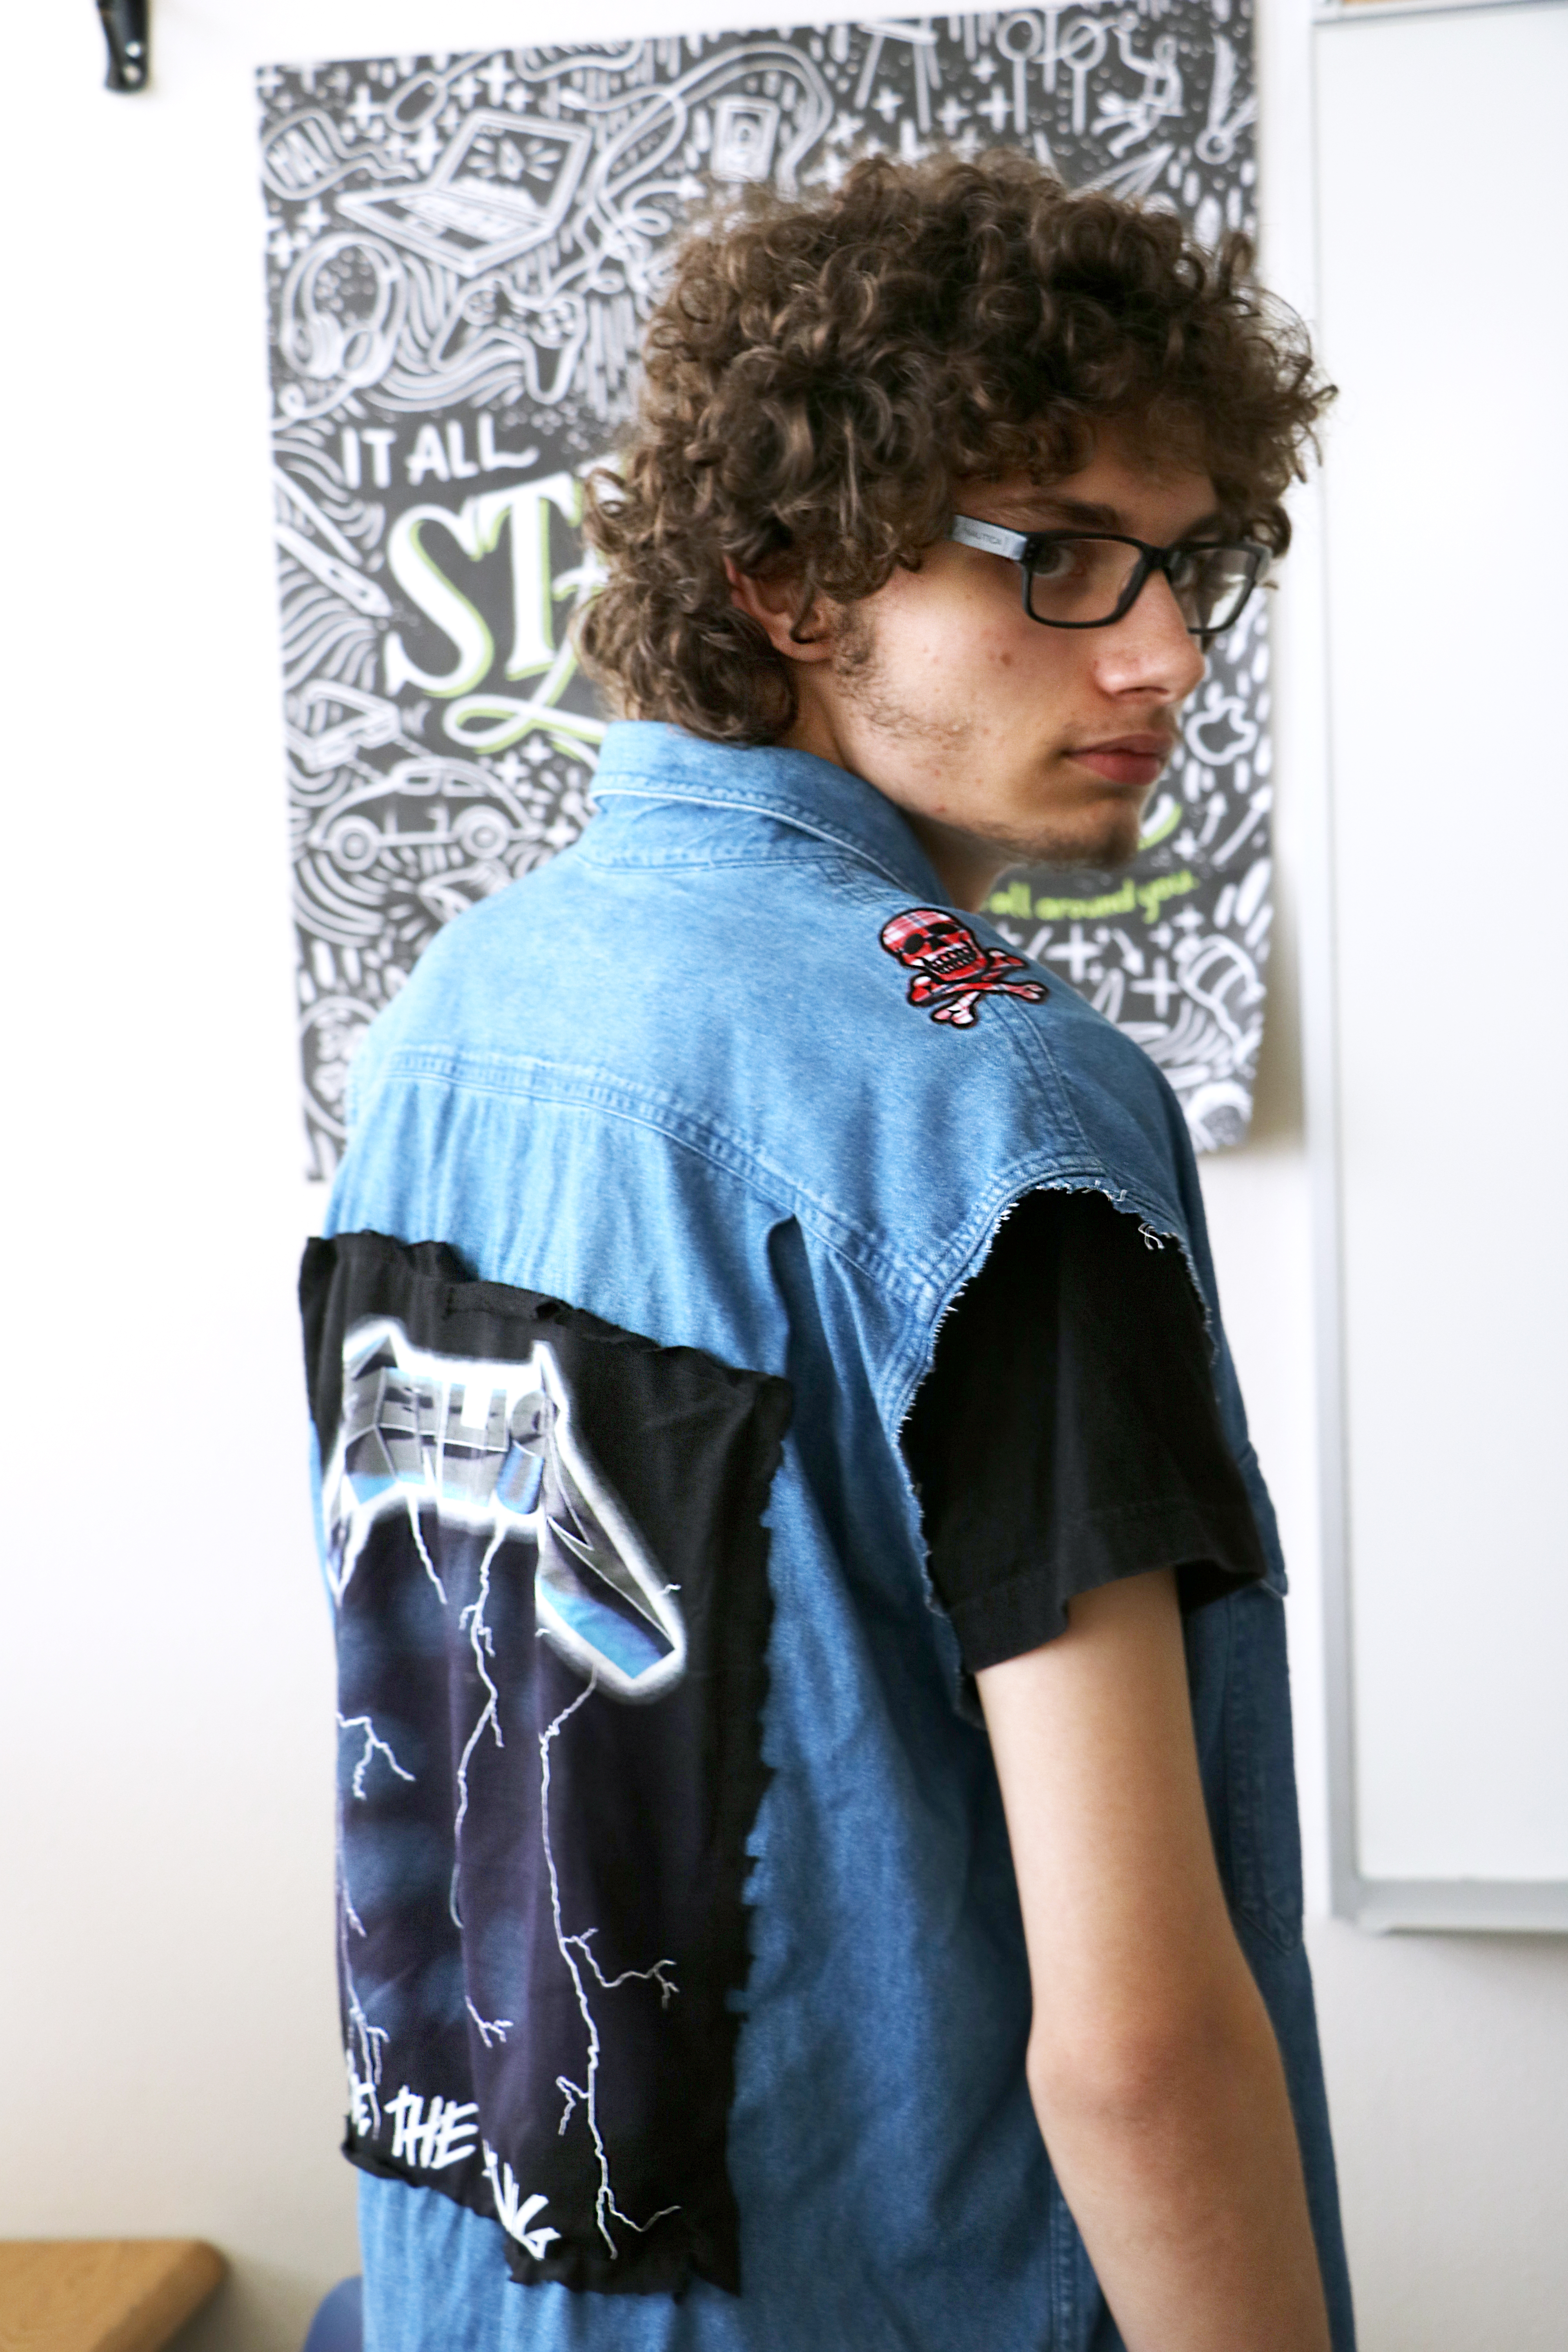
The next thing you need to do is cut the sleeves of your jacket. In order to make this “metal,” make sure when you are cutting off the sleeves to make it messy. We want to look battered, worn and brutal. You may also need to cut the bottom of the vest to make it fit better.
Step 3: Add Your Back Patch
Now for one of the hardest parts in the creation process you need to choose a back patch. For my batch patch I bought a cheap “Ride the Lightning” T-shirt and cut out the main design. The reason I chose this album is because it was the first Metallica album I fully listened to, and it also contains the first I learned on bass guitar: “For Whom The Bells Toll.” This album means a lot to me, so that is why I chose it, and that should be the same for you.
Get the design of your favorite or most impactful album in your life. After you chose and cut out your design, you will need to sew it on the back of the vest. You can do this with either a sewing machine or by hand.
Step 4: Add the Patches
This step will probably be the most time consuming because of how many options are out there. Most of your jacket will be made up of smaller patches from other bands. These bands can all be from the same genre, or they can just be your favorite bands. It is wise to get a couple patches to start and then get more later from concerts. This is so that you don’t go bankrupt buying a ton of patches.
Step 5: Chains and Studs
The last step in forging your battle vest is adding studs and even chains. This step is optional, but it will make your vest pop. Besides, what’s more “metal” than bedazzling. You will have to be careful with the studs because the ends can be sharp, so make sure they stab you. You can also add chains to add to the edginess
Step 6: Wear Your Armor
After you have fully customized you battle vest, you can wear it proudly. Note that you can wear it at any stage of the creation process. You can wear your vest anywhere you like, but some of the best places to wear it are at concerts. This is because other people will see your patches and most likely love the bands that you love. This makes a battle vest a great way of making new friends, so I hope with this guide, you can make and wear a battle vest of your own.
You may also like...


-
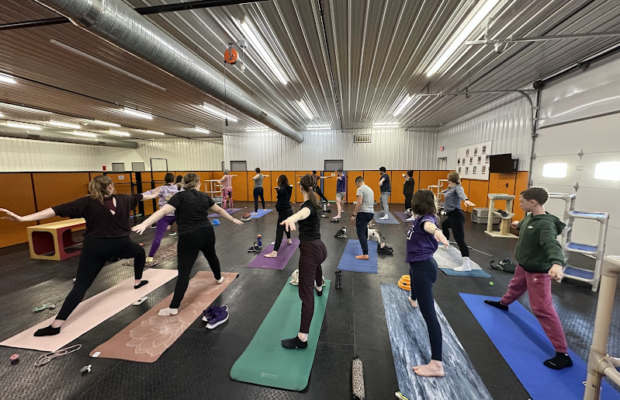
Cedar Bend hosts successful cat yoga event
The Humane Society hosted an event last weekend on Saturday, May 2 for cat yoga at the Outreach and Education Center. There were many participants who showed up for...


You must be logged in to post a comment Login